E N D L E S S – P O S S I B I L I T Y
How-to Guide for The Endless Frame®


Step One

Step Two

Step Three

Step Four

Step Five

Step Six

Enjoy
Step One
Step Two
Step Three
Step Four
Step Five
Step Six
Enjoy
Step One
Lay your Endless Frame® face-down on a clean, soft surface to protect the wood finish and glass. Using the included Helm & Oar screwdriver tool, gently loosen each secure turn-button. Rotate them until the back tray releases easily — no forcing required.
Step Two
Once the turn-buttons are fully loosened, gently lift the back tray straight up and out of the frame. Avoid tilting or bending it as you remove it — keeping it level protects both the structure of the tray and the artwork inside. Place the tray on a clean, flat surface nearby where it won’t be stepped on or leaned against. Treat it like a component of fine furniture — because it is. This ensures a smooth, damage-free reassembly when it’s time to close your frame.
Step Three
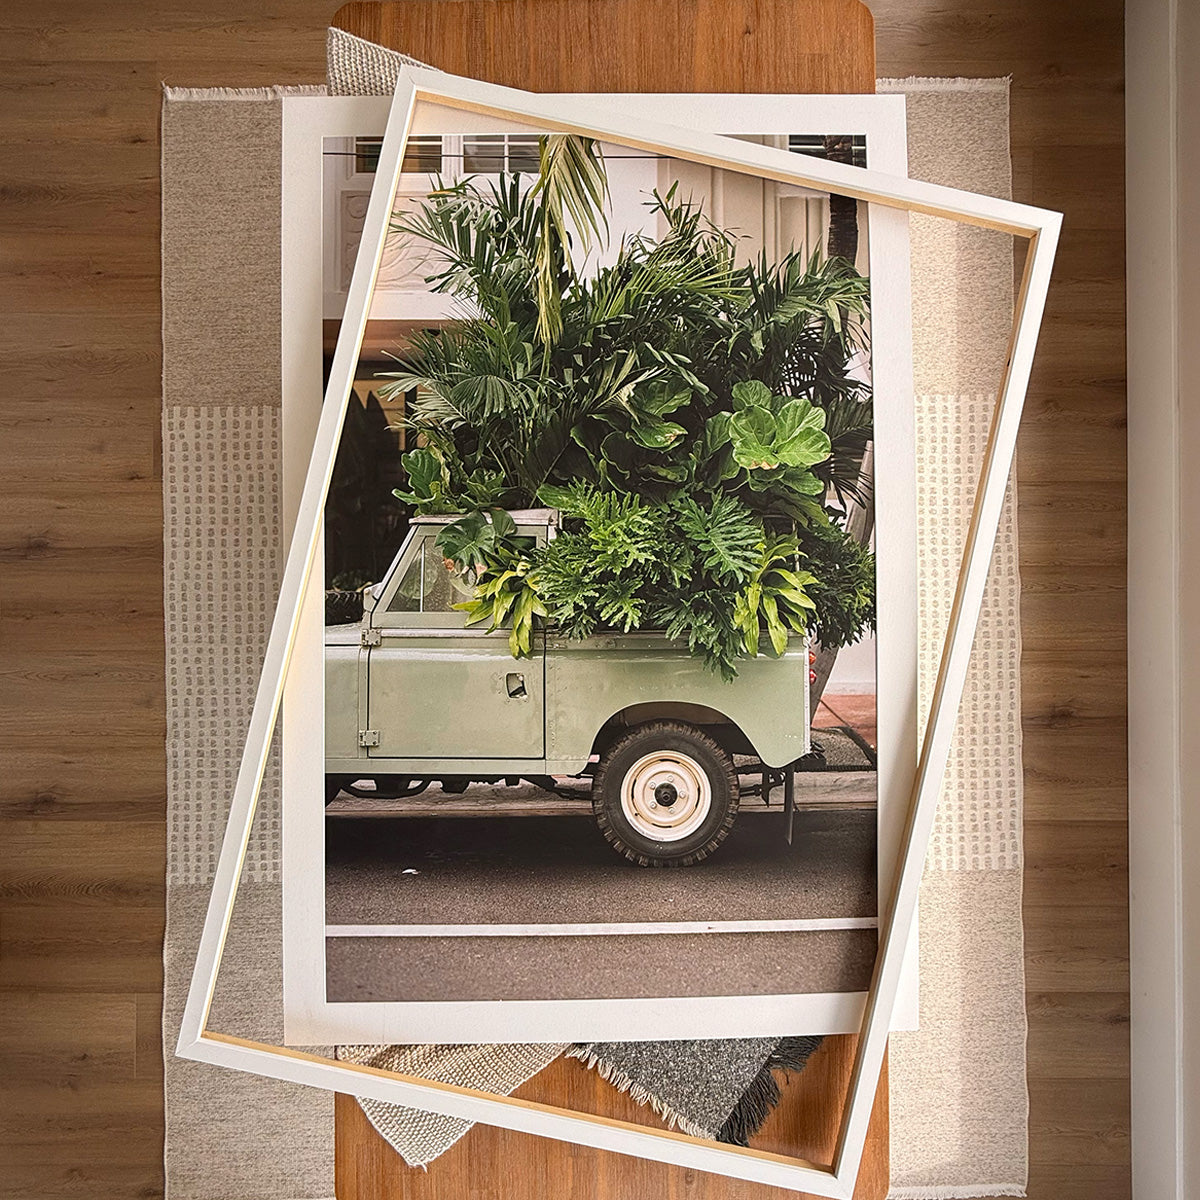
Your print comes pre-mounted for perfect alignment. Gently lift it out from the frame, keeping the mat (if included) in place. If you plan to rotate this piece back in later, keep it flat and protected while you complete the swap.
Step Four
Before installing your new artwork, take your Helm & Oar branded microfiber cloth and gently wipe the inside of the glass. Remove any dust or debris that may have entered to ensure a flawless, gallery-level presentation.
(This small step makes a big difference.)
Step Five
Place your new Helm & Oar print into the frame first, aligning it evenly within the mat or border. Then place your original print directly behind it inside the frame. Your Endless Frame® is designed to discreetly store additional pieces for future swaps — keeping your collection protected and ready for a new vibe.
Step Six
Using your screwdriver tool, tighten each fastening part until snug and secure. They should feel firmly locked — tight enough to hold everything in place, but not over-tightened.
Enjoy
And Voila! Enjoy your new art until you're ready to change up your vibe again!
Where Unmatched Quality Meets Endless Versatility.
All Others
Swappable Art
Endless Art Options
Stuck With It
1 Frame Fits 50 Prints
Seasonal Storage
Impossible
Removable Glass
100% Anti-Glare
Stuck With It
Adjustable Orientations
Unmatched Versatility
Stuck With It
H+O Screwdriver
Change Orientation
Not Provided
H+O Dust Cloth
We Care
Not So Much
Unbox Something Endless.


"Best gallery by far… and I've used a bunch in the past. I will only be using Helm + Oar going forward." - Bradley M

Frequently Asked Questions:
At Helm & Oar, we take pride in crafting each piece to order, ensuring it meets our exacting standards. Once your order is placed, please allow 5-7 business days for your artwork to be carefully produced and prepared for shipment. We offer free shipping on all domestic orders, and your art will arrive ready to hang, complete with pre-installed hardware for easy installation within 10-12 business days.
Our Endless Frame® can hold and store up to 3 mounted prints and up to 50 loose prints laid flat. Everything is removable and interchangeable including the acrylic glass. Our collectors will often remove the glass to achieve a gorgeous matte finished and completely glare-free look.
Our Endless Frame® is identical to the old frame in every way, including overall size. We developed an opening mechanism in the back, allowing you to store up to 3 prints in a single frame to swap in and out at your discretion throughout the year. Our new frame also allows you to remove the acrylic glass to completely eliminate glare.
We are abolishing buyer's remorse once and for all. Unlike all other galleries, we offer hassle-free replacements, exchanges and now, refunds – made possible by our partnership with 'Route Order Insurance'. Shop with confidence knowing your investment is now 100% protected, and your satisfaction guaranteed. Please read our return policy for more info.
Our sturdy hardware is perfect for hanging larger pieces on drywall safely and securely! Instead of bulky screws and anchors, the nail included is sturdy but long and thin so that the hole is very minimal. You can view further details around our hardware down the page!
Shop with confidence knowing your investment is now 100% protected, and your satisfaction guaranteed. If your order comes damaged and you do not want a replacement, we can issue full refunds for those who have opted in for Order Insurance at checkout. Please read our return policy for more info.